BI 810 CONNECT + UX02
The BI 810 Connect tracker and UX02 module is designed for applications where high accuracy of location is a key requirement.
Quick Start
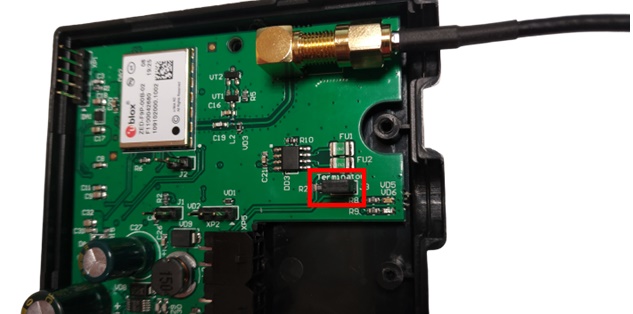
1. Remove the cover of the UX02 module by unscrewing the 2 fixing screws on the front panel. Activate the 120 ohm resistor pull-up on the module by placing a jumper on the contact marked “Terminator” (Fig.1).
Fig.1. The jumper for the 120 ohm resistor pull-up
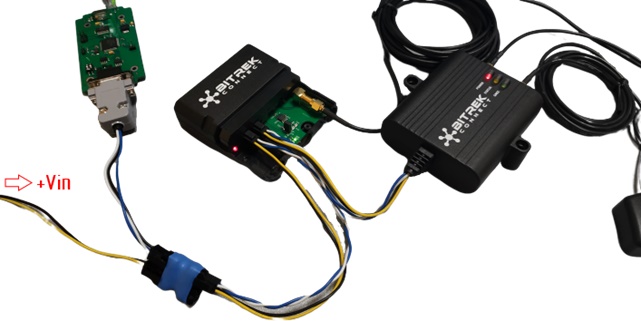
2. Connect the GPS antenna that comes with the module to the SMA connector (Fig.1). Combine the BI 810 CONNECT tracker and the UX02 module into a common CONNECT-BUS connection. Use a splitter (blue, Fig. 2) for the connection.
Fig.2. Connected set of equipment
4. Connect the programmer for device configuration into one of the free slots of the splitter.
5. Connect the +12V/+24V power supply to the connected devices. The power connector can be plugged into one of the free slots on the splitter (Fig.2).
6. Start the Connect Configurator application. Choose from the drop down list the number of COM port, which corresponds to the connected to PC programmer and press the button to open the port (Fig. 3.).
Fig.3. Connecting to COM port
7. Scan the bus by clicking the appropriate button on the top toolbar. The list of the devices available on the bus will be displayed in the configurator window (Fig. 4).
Fig. 4. The list of devices detected on the bus
8. Switch the Connect Configurator to the “Parameter” mode by clicking the button marked with the icon “A” on the upper toolbar.
9. Expand the tracker settings tree on the right side of the programmer window. Go to “Service” subsection and set the following parameters:
- 0201 - Address of external GPS receiver on CONNECT-BUS - 0202 - Type of GPS receiver used
In the 0201 field, you must enter the address of the UX02 module. The default address of the module is 4.
In the field 0202 you must specify “Both antennas, priority - external” (Fig.5).
Fig. 5. Setting up the tracker
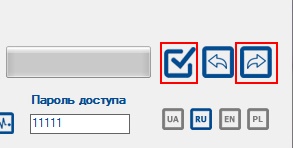
10. After the necessary values have been set in the configurator window, send these parameters to the tracker by pressing the appropriate button (Fig.6).
Fig.6. Sending parameters
11. Place the UX02 GPS antenna in a clear line of sight in the sky, strictly horizontal and away from any possible sources of interference. The antenna placement area should be as open as possible for a confident GPS signal reception.
This completes the system setup and the tracker will use the GPS data received from UX02 as its priority.


